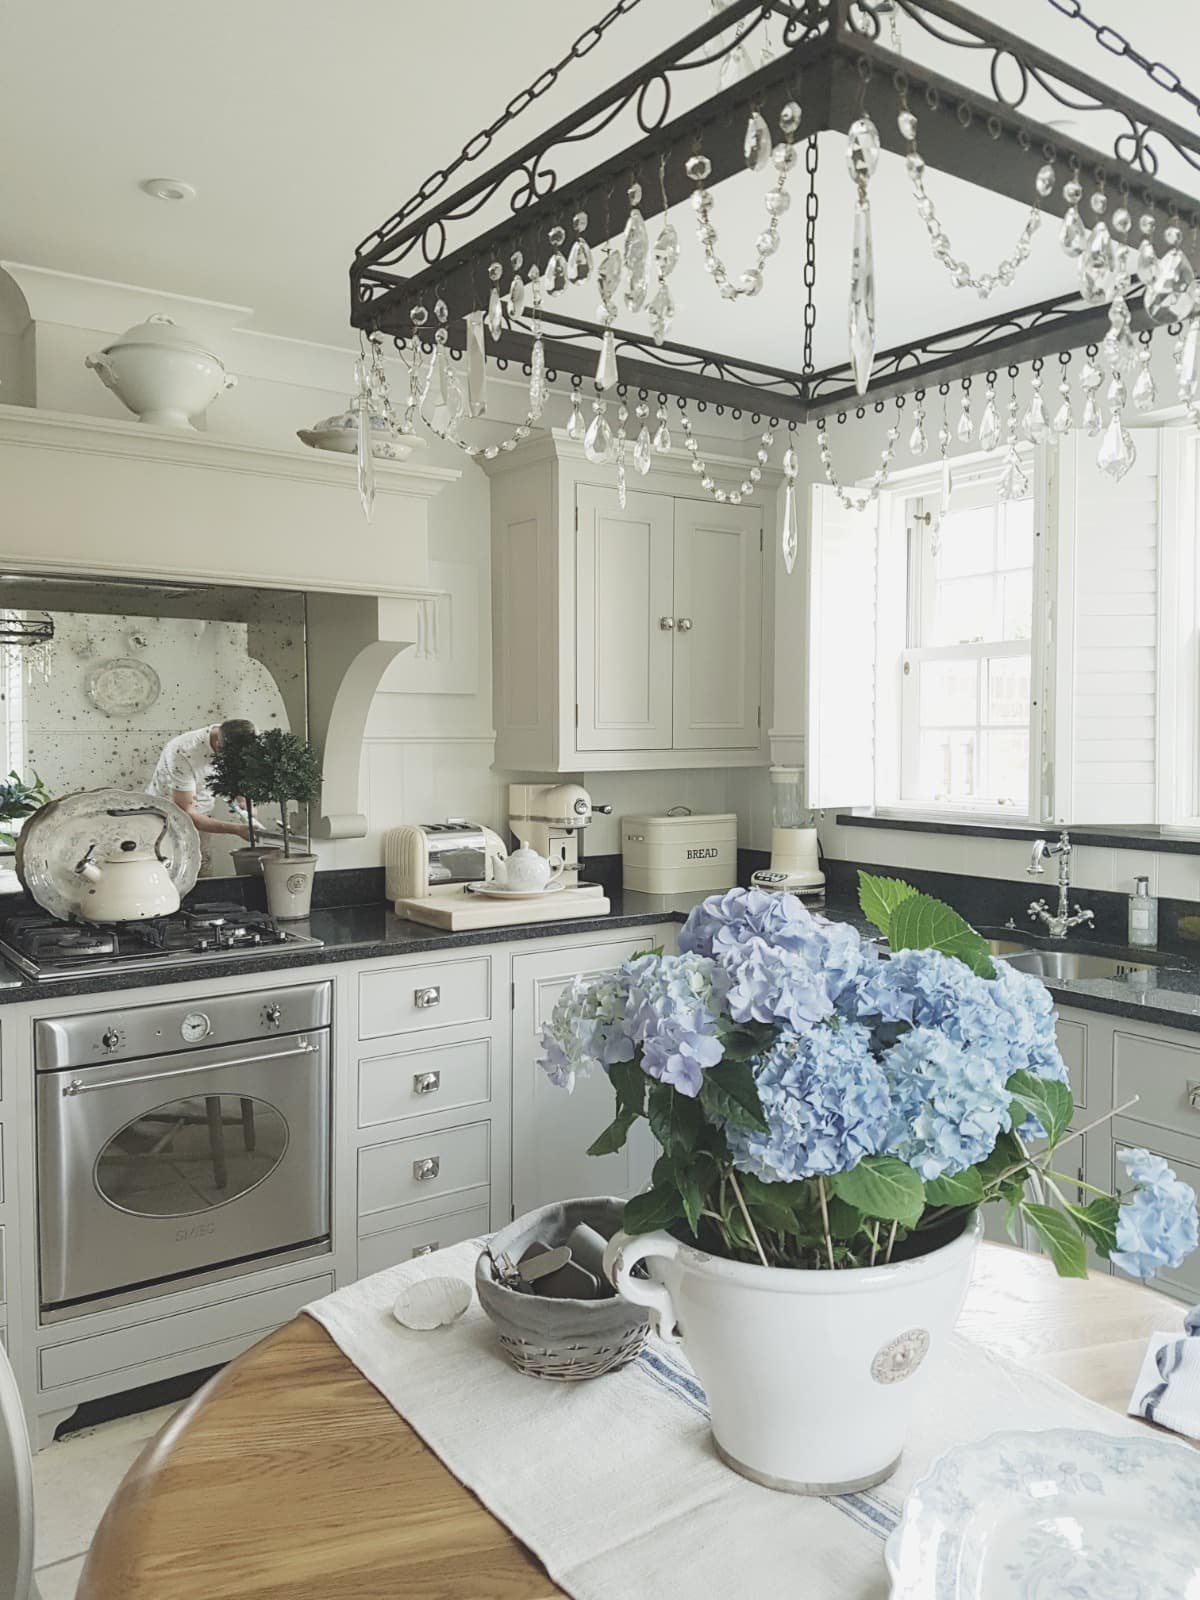
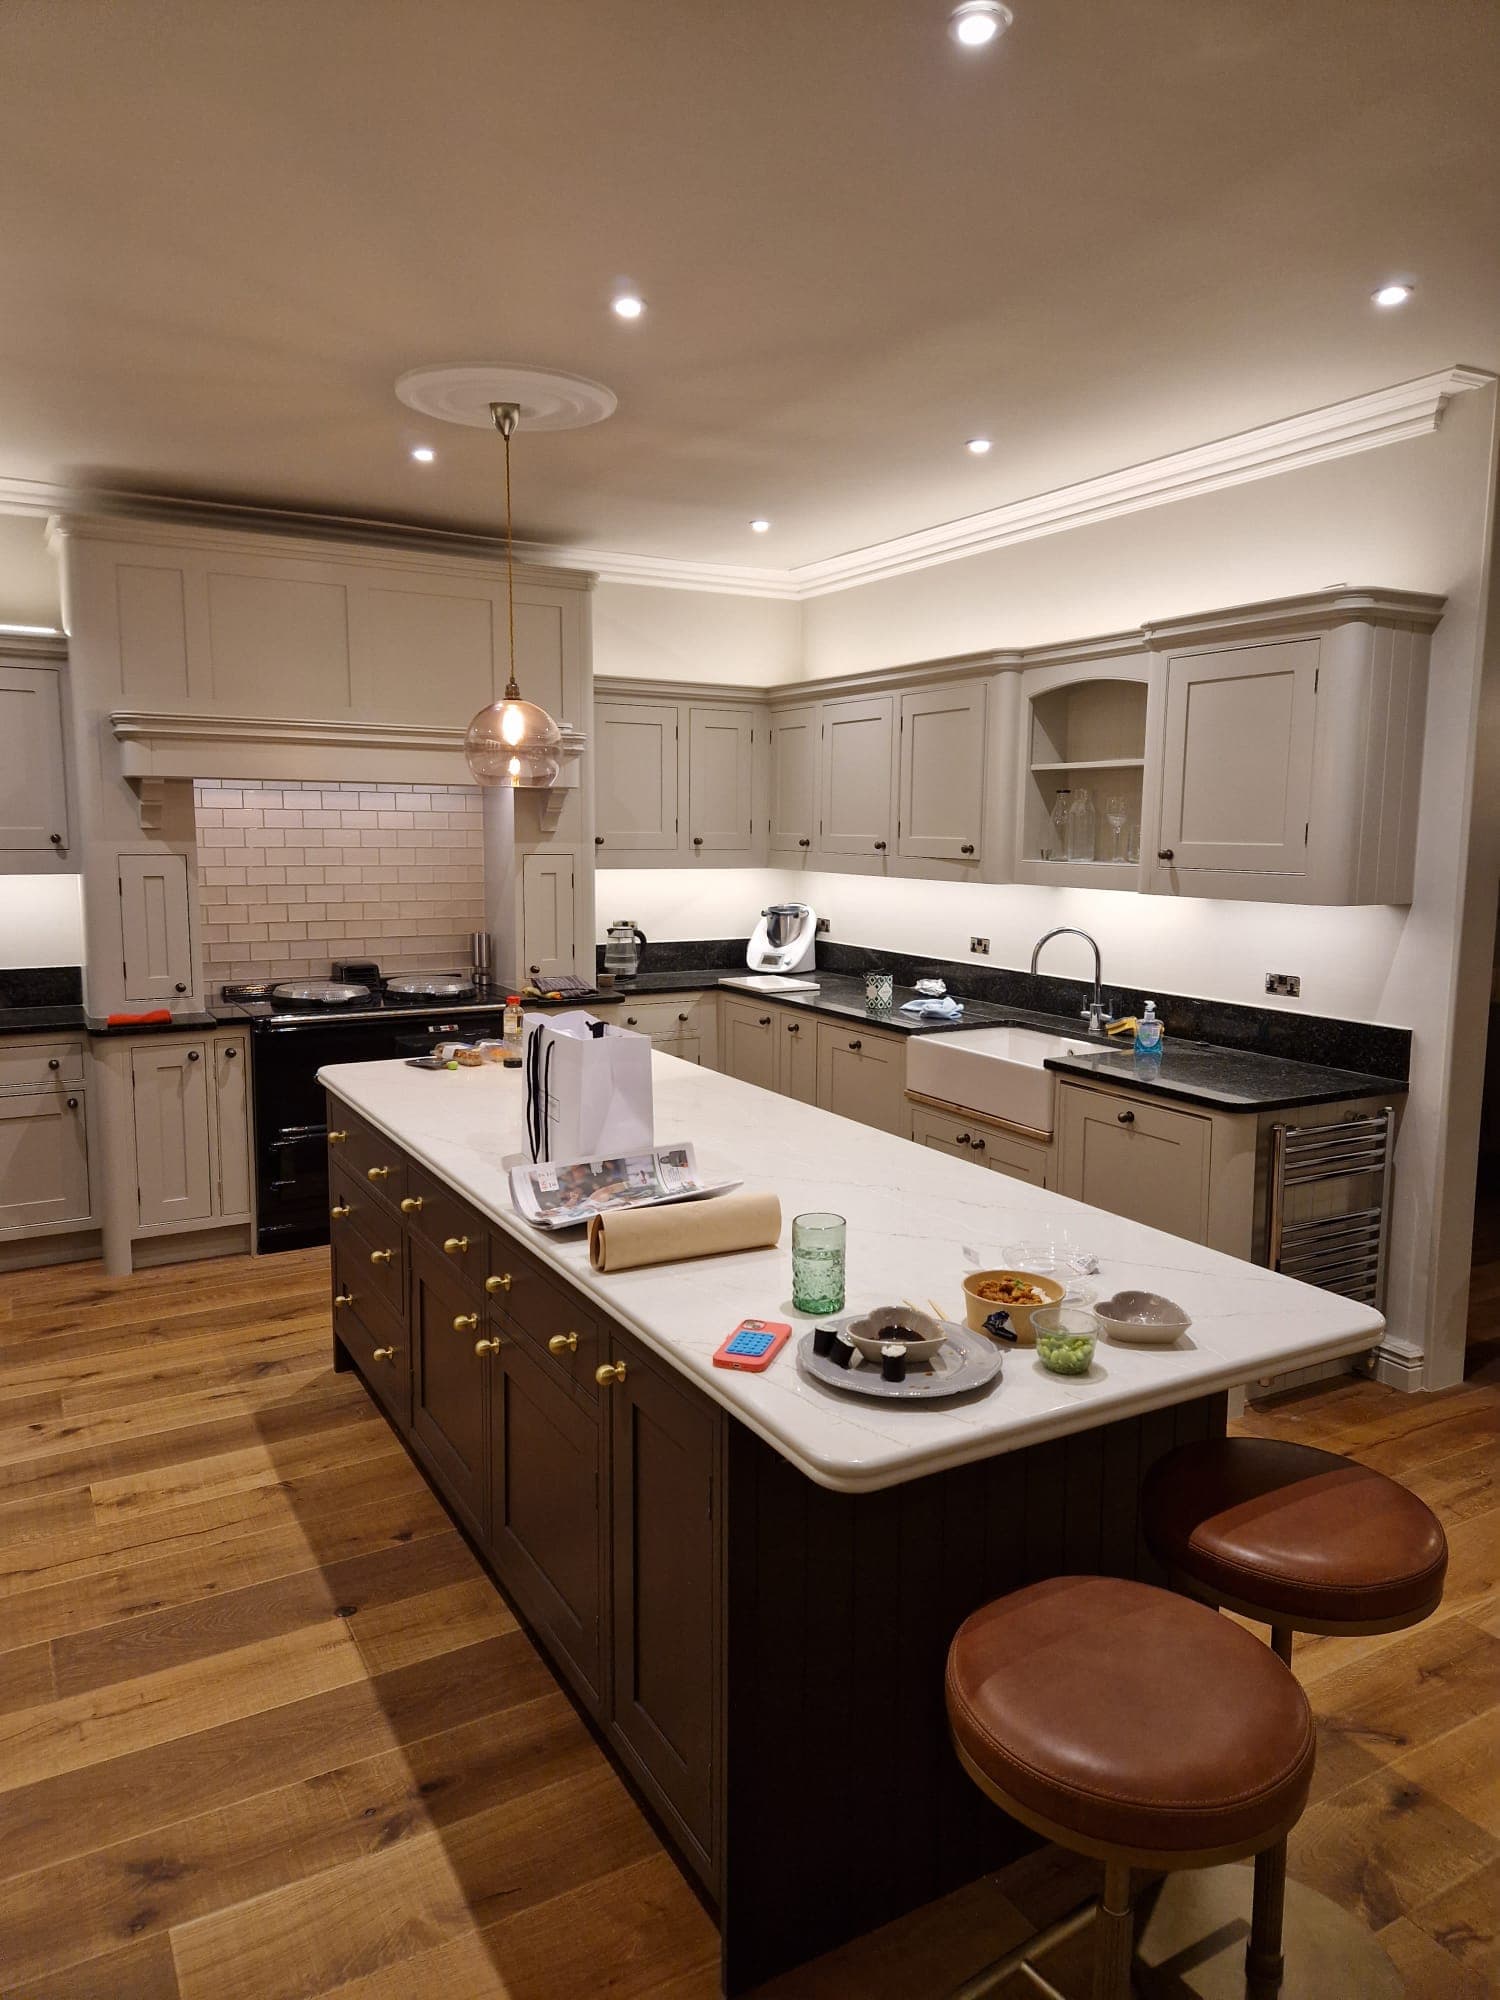
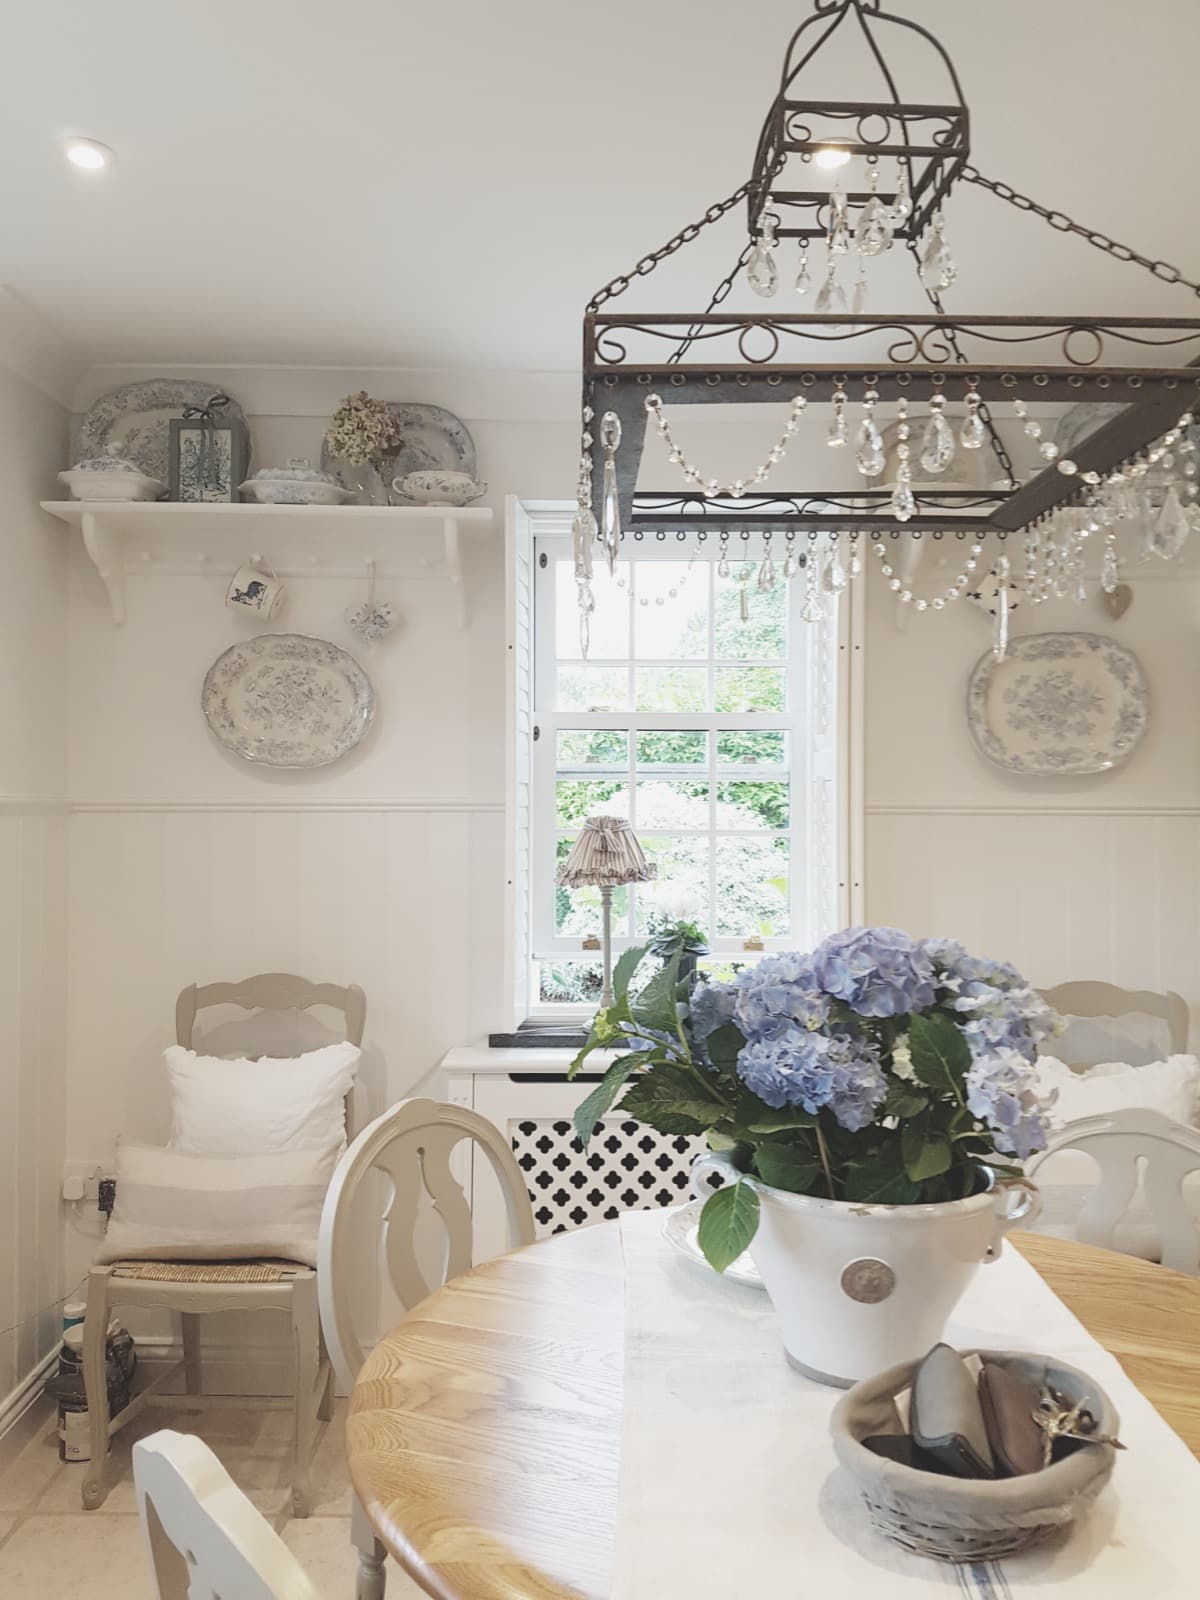
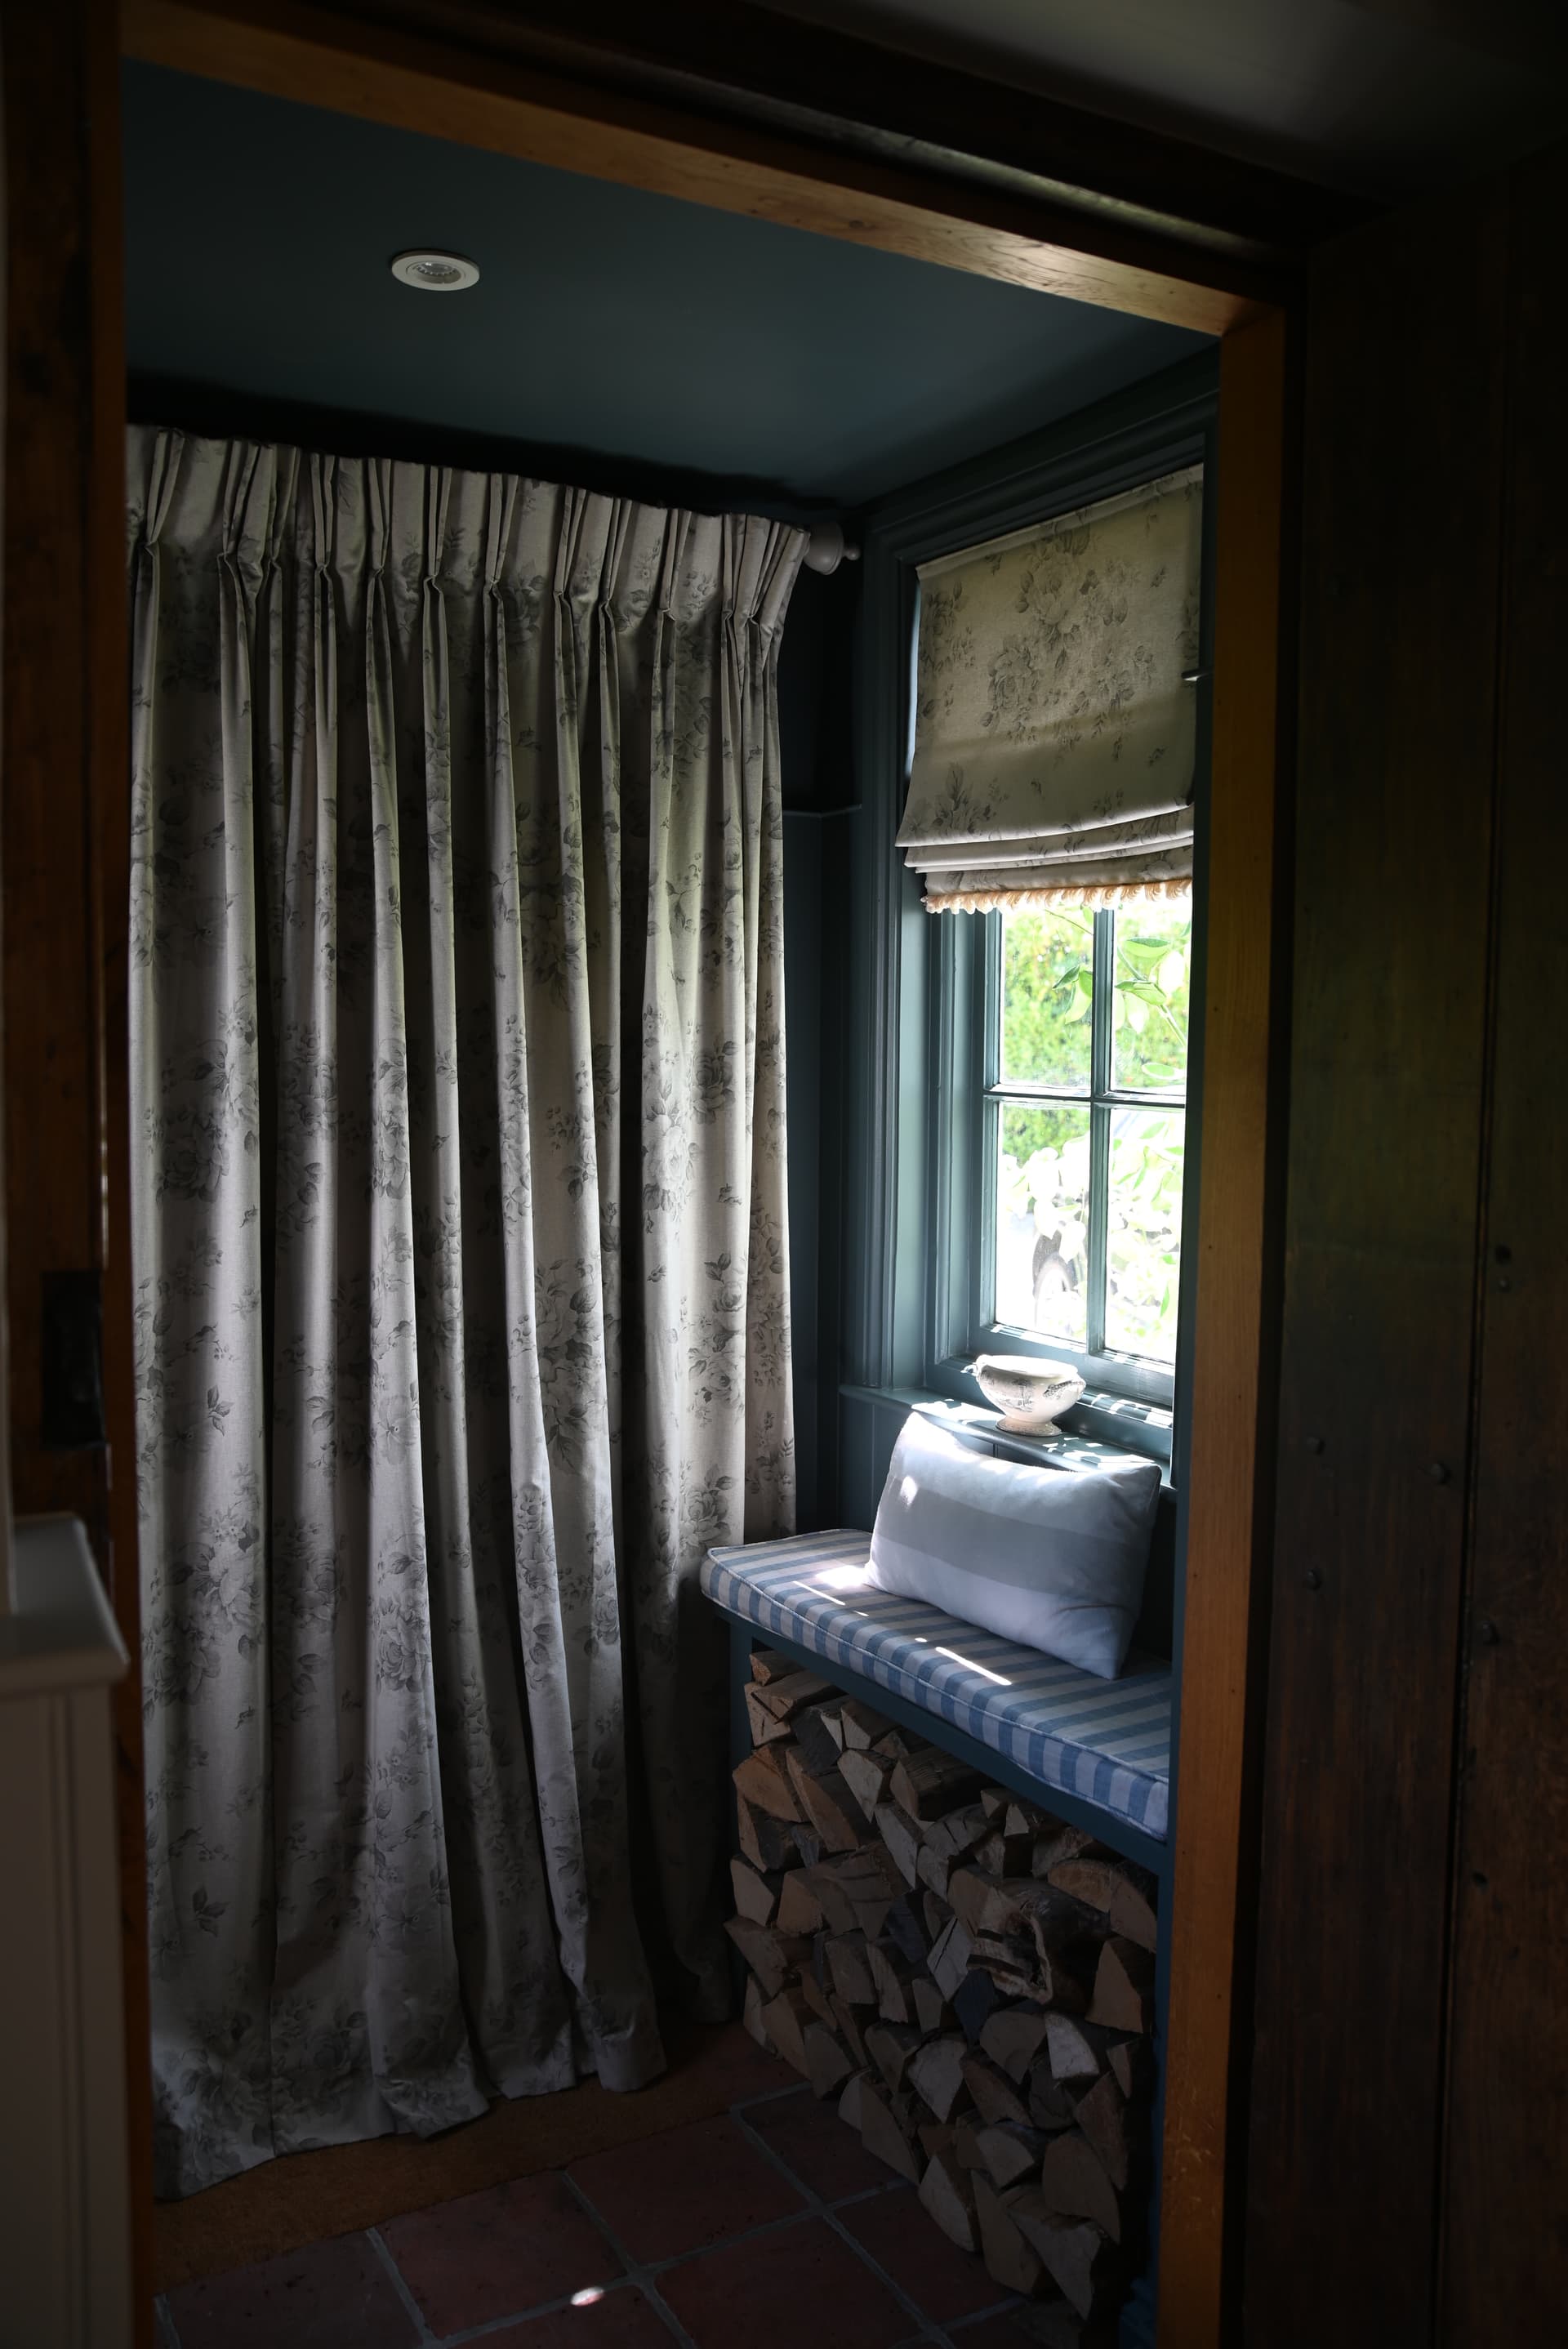
Recent work
Surrey & West Sussex
A kitchen that is properly degreased, keyed, primed and built up by brush will still look right in ten years. One that skips those stages starts peeling at the handles within one. This page sets out exactly how I do it.
Why by hand
Spraying is a factory process, and it does what factories do — it lays down a flat, uniform film very quickly. On a plain slab door that is fine. On the in-frame cabinetry, beading and mouldings that give a good kitchen its character, it flattens exactly the detail you paid the joiner for.
Brushed on and laid off properly, paint follows the profile instead of burying it. The finish has depth to it, the mouldings stay crisp, and a scuffed drawer front can be touched in years later without respraying a whole door. It also means no masking your house into a tent and no solvent haze drifting through the rooms beyond.
It takes longer. That is the trade, and for the houses I work in it is consistently the right one.
What’s included
The process
Nothing here is optional. The stages that get quietly dropped on a cheap job — degreasing, keying, the right primer — are precisely the ones that decide whether the finish is still sound in five years.
I visit, look properly at the cabinetry — what it is made from, how it was originally finished, where it has worn — and talk through colour and sheen. On most kitchens I take a single door through the entire system first, so you can see the actual colour on the actual surface in your own light before committing.
Floors, worktops and appliances are fully sheeted and masked. Doors and drawer fronts come off and are numbered so every one goes back exactly where it started. Handles, hinges and knobs are removed rather than masked around — it takes longer and it is the only way to get a clean edge.
Kitchen cabinetry carries years of airborne cooking grease, even when it looks clean. Every surface is washed down with a proper degreasing solution, rinsed and allowed to dry. Skip this and the primer sits on a film of grease rather than on the door — which is precisely why badly done kitchens start peeling at the handles within a year.
Factory finishes are hard, sealed and glossy, and nothing will grip them until they are keyed. Every face, edge and profile is abraded by hand to give the primer something to bond to, then dusted down and wiped off. Mouldings and beading are done by hand, not by machine, so the detail stays sharp.
Chips, dents, old screw holes and worn edges are filled and sanded flush. Open joints on in-frame cabinetry are caulked so the finished paintwork reads as one continuous surface. Any damaged veneer or lifting edge is dealt with now — it will not be fixable later.
The primer is chosen for what the door actually is — a high-adhesion primer for sealed factory finishes and laminates, a stain-blocking primer where tannin bleed from oak or knots is a risk, and a flexible primer on timber that moves. This is where most of the durability is won or lost.
Topcoats go on by brush, thin and even, laid off in the direction of the grain. Between coats every surface is de-nibbed with a fine abrasive to take out dust and any raised grain. Two full coats is the standard; deep and strong colours occasionally take a third.
Once the paint has hardened enough to handle, doors go back on their original hinges, alignment is adjusted so gaps are even, and handles are refitted. I then go round the whole kitchen in daylight looking for anything that needs touching in — and the site is left clean.
The two stages that matter most
Every kitchen carries airborne cooking grease on its cabinetry, whether or not it looks clean — a fine film that builds up over years, heaviest around the hob and above head height where warm air collects.
Paint cannot bond through it. If a kitchen is sanded and primed without being degreased first, the primer bonds to the grease rather than to the door, and the whole system starts lifting at the points that get handled most. It is the single most common reason a repainted kitchen fails early.
So every surface is washed down with a proper degreasing solution, rinsed off, and left to dry fully before anything else happens.
There is no universal primer. What goes on depends on what the door actually is, and getting that wrong is expensive to discover later.
A sealed factory-sprayed or lacquered door needs a high-adhesion primer that will grip a surface designed to repel things. Oak and knotty timber need a stain block, or tannin bleeds through a pale topcoat months after you thought the job was finished. Timber that moves seasonally wants a primer with some flexibility in it.
Getting this stage right is most of the durability. Everything after it is colour.
Materials
I am not tied to one manufacturer. The system is chosen for the cabinetry in front of me, and I will tell you what is going on it and why.
For previously sprayed, lacquered or melamine-faced doors, a specialist high-adhesion primer is what makes a hand finish viable at all. It bonds to a sealed surface and gives the topcoats something reliable to sit on.
Oak, knotty pine and older timber can bleed tannin through pale colours months after the job is done. Where that is a risk, a stain-blocking primer goes on first — particularly important under whites, off-whites and soft greys.
Modern water-based cabinet finishes cure hard, hold their colour, and do not yellow the way old oil-based paints did on pale shades. They are my default for kitchen cabinetry, brushed on and laid off by hand.
On some period joinery and in deep, saturated colours an oil-based finish still gives the best flow and depth. I will use one where it genuinely suits the job, and explain the trade-off in drying time and eventual mellowing.
Eggshell is the usual choice — enough sheen to wipe clean, not so much that it shows every undulation in an older door. A flatter finish suits period kitchens; a satin gives a little more resilience on hard-used drawer fronts and island ends.
Recent work
Where I work
Kitchens are a large part of my work in these towns in particular — each page covers the kind of cabinetry typical there and how I approach it.
Hand-painted kitchens in Cobham — large island kitchens, utilities and boot rooms repainted by brush to a durable, factory-free finish.
Hand-painted kitchens →Hand-painted kitchens in Oxshott — bespoke joinery, larder runs and dressing rooms hand-finished to a depth spray cannot reach.
Hand-painted kitchens →Hand-painted kitchens in Weybridge, including St George’s Hill and Oatlands — discreet, immaculate, hand-finished cabinetry.
Hand-painted kitchens →Hand-painted kitchens in Esher, Claygate and Hinchley Wood — from Victorian galley kitchens to large modern family rooms.
Hand-painted kitchens →Hand-painted kitchens in Guildford — period townhouse kitchens, Victorian terraces and larger family homes towards Merrow.
Hand-painted kitchens →Hand-painted kitchens in Godalming — period cottages, listed interiors and Arts & Crafts houses, finished sympathetically by hand.
Hand-painted kitchens →Questions
A sprayed finish is flat and uniform, which suits a factory but tends to flatten out the mouldings and beading that give good cabinetry its character. Brushed and laid off properly, a hand finish has more depth, keeps profiles crisp, and can be touched in years later without respraying a whole door. It also means no masking off your entire house and no solvent haze through the rooms beyond.
Properly degreased, keyed, primed and finished, a hand-painted kitchen should look right for a good ten years or more in normal family use. The areas that wear first are always the same — around handles, the edges of the most-used drawer fronts and the ends of an island — and those can be touched in without redoing the whole kitchen.
Yes. Doors and drawer fronts come off and are finished away from the working area, so the sink, oven and fridge stay available. There will be days when the frames are wet and the kitchen is not at its most convenient, but you will not be without it.
Solid timber, veneered and good-quality MDF doors all take paint well, including previously sprayed and lacquered finishes once they are keyed and primed correctly. Thermofoil or vinyl-wrapped doors that are peeling, and very poor chipboard carcasses, are the two cases where I will tell you honestly that painting is not the right answer.
By default I paint the outside faces, edges and frames — that is what you see and touch. Cupboard interiors, shelf edges and the inside of a glazed dresser can all be included; it adds time, so it is priced as an option and agreed before I start.
Floors and worktops are fully sheeted, sanding is done with dust extraction where possible, and the site is cleared and cleaned at the end of every day. It is a working room for a week or two, but it should never feel like a building site.
Surfaces are touch-dry within hours and doors go back on within a day or two, but modern water-based cabinet paints continue to harden for two to three weeks. I will ask you to be gentle with the doors during that period — no heavy cleaning products, and try not to stack things hard against fresh paintwork.
I’ll come and look at the cabinetry properly, tell you honestly whether painting is the right answer, and follow up with a clear written estimate.